Installing Bali Thatch
We offer Balinese thatching as a DIY product with easy-to-read installation instructions, helping YOU save money. Installing Bali thatch is a simple process that requires very little skill.
Key Installation Tips
-
Recommended roof pitch: No less than 30 degrees
-
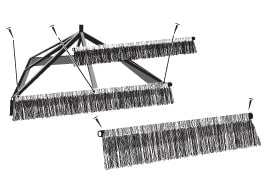
Thatch strip: Long thatch on outside face, short fringe underneath
-
Corner hip: Bamboo batten facing down, in contact with corner rafter
Begin at the Bottom
Start the layering process at the bottom of the roof structure, adjacent to the fascia. Nail through the bamboo batten to the rafters using either a nail gun or hammer.
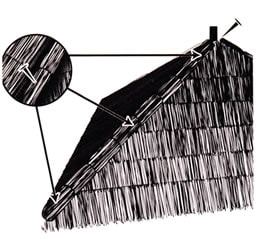
Layering at 80mm Increments
Pre-mark the rafters in 80mm increments. Place the next strip above the first strip and nail the second bamboo batten 80mm from the first. This layering is critical for a waterproof roof.

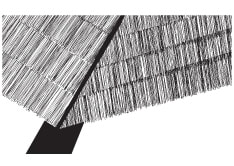
Cut Strips at Corner Rafters
Cut thatch strips in the middle of the corner rafters and secure with nails. This ensures proper coverage and alignment around roof corners.

Continue Covering Roofline
Continue up the roofline, cutting strips and nailing until the entire roof structure is completely covered with thatch.
Install Corner Hips
Place the tapered end of the corner hip at the top with the batten facing underneath. Nail to the corner rafter at the bottom, top, and middle.
Final Touches
On completion, wet and rake the entire roof to tidy the thatch. You can leave the edges 'shaggy' or trim with clippers to create your preferred look.
Comprehensive Installation Guide
Download our detailed PDF installation instructions for a complete reference during your Bali thatch installation.
Download Installation PDF